Use conditioner for a tested problem
Use pre-stain wood conditioner when an offcut shows blotchy or streaked absorption with the planned stain and the conditioner improves it without making the color unacceptably pale. Pine, fir, alder, birch, maple, and other uneven absorbers are commonly named on product labels, but species alone is not a verdict.
Conditioner partially limits how quickly stain enters porous areas so color develops more evenly. That same effect can reduce overall color intensity. The right decision comes from a side-by-side sample using the actual board, sanding sequence, conditioner, stain, wiping time, and topcoat.
Why some wood stains unevenly
Natural differences in earlywood and latewood, grain direction, figure, end grain, compression, and surface density cause stain to enter at different rates. Milling and sanding add more variation. A scratched area, glue smear, burnished patch, or torn grain can absorb differently from the surrounding face.
End grain is especially thirsty because open fibers are exposed. Sand it to a finer effective surface or seal it as part of a tested finishing schedule. Do not expect face conditioner alone to make end grain match perfectly.
Blotching is not always undesirable. It can emphasize figure and produce a rustic look. Conditioner aims for more uniform color, which may flatten contrast. Define the desired appearance before calling variation a defect.
Match conditioner and stain systems
Use a conditioner intended for the stain chemistry. Behr's FAQ says to pair oil-based pre-stain with oil-based stain and water-based pre-stain with water-based stain. Varathane's oil-based conditioner label states that it is for oil-based stain and is not recommended under water-based stain.
Do not mix systems because the containers share a brand or wood color. Read the current labels for compatibility, application tools, ventilation, cleanup, and topcoat timing. Gel stain, dye, washcoats, and stain-and-finish combinations behave differently from ordinary wiping stain.
If the planned topcoat is from another chemistry, verify the full stack: bare wood, conditioner, stain, sealer if any, and clear coat. Each layer must dry or cure as required before the next one is applied.
Prepare and apply on a sample
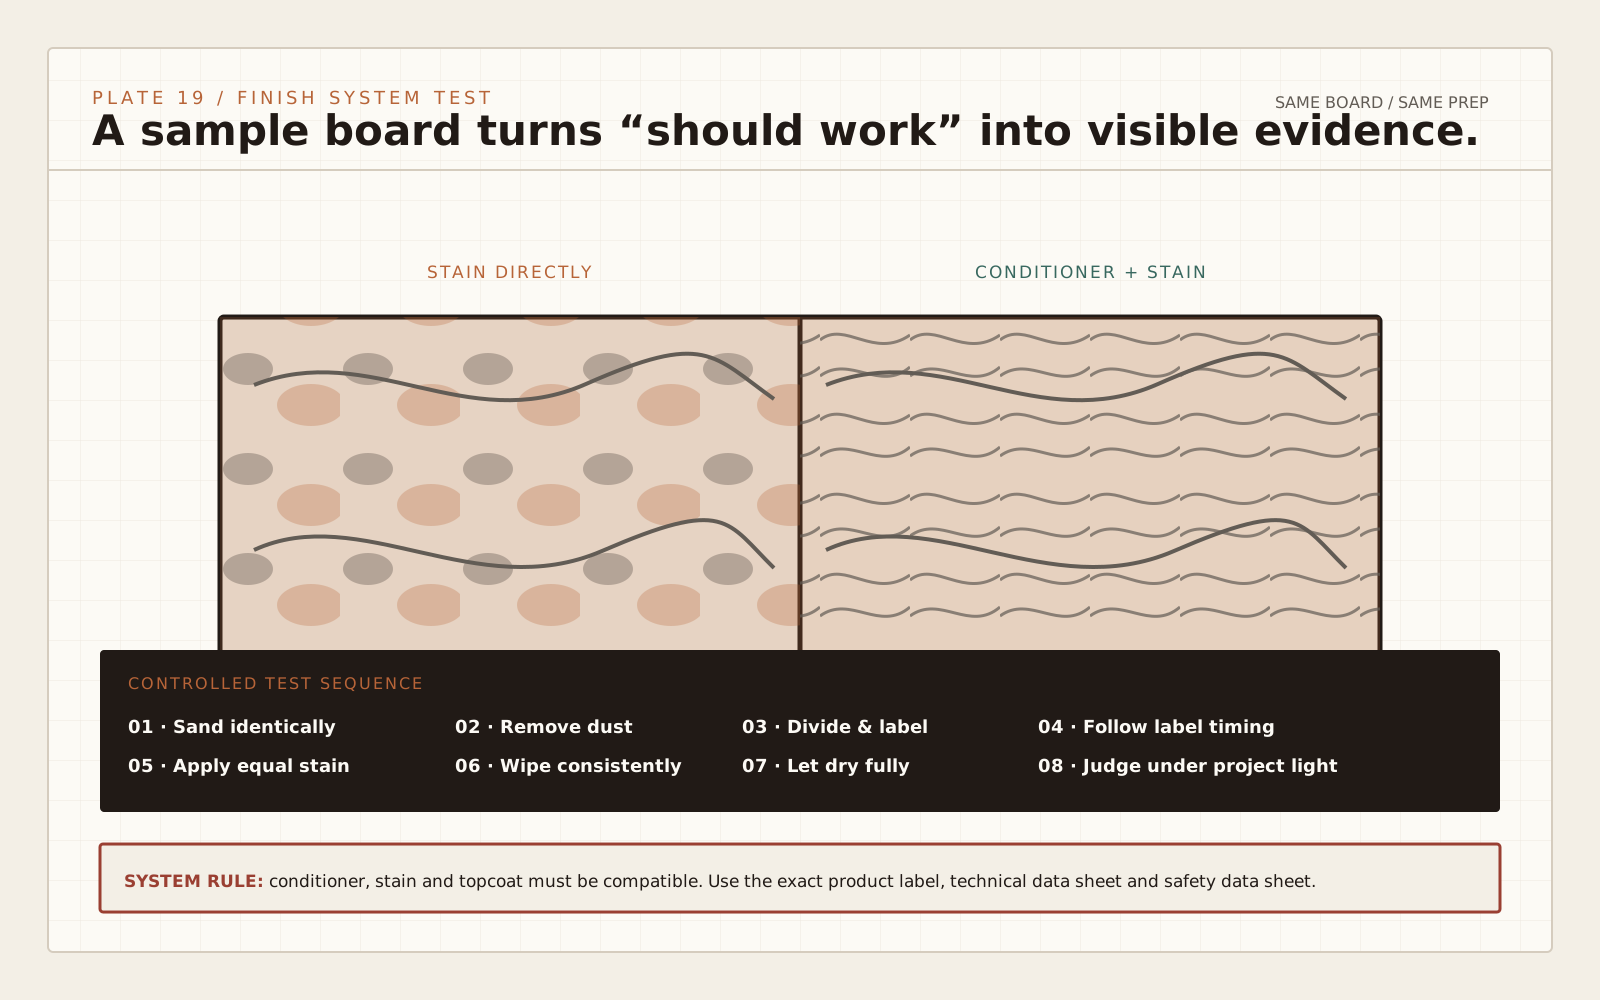
Use an offcut large enough to contain representative face grain, end grain, and any figured area. Divide it into control and conditioned sections. Sand both with the exact project sequence and remove dust consistently. Any glue-contaminated area should be corrected before the test.
Stir the conditioner as directed. Apply an even wet coat with the recommended brush or lint-free cloth, keeping track of the start time. Wipe excess in the stated direction and do not leave puddles at edges or profiles. Treat end grain consistently rather than accidentally soaking it during face application.
Apply stain to both sections with the same tool, amount, dwell time, and wiping pressure. Label the sections. Let them reach the product's evaluation stage and apply the planned topcoat to part of each sample because clear finish can change contrast and color.
Judge four things: evenness, target color, grain clarity, and repeatability. Conditioner is useful only if the more even result is also a result you want and can reproduce across the full piece.
Read the stain window on the label
Conditioner-to-stain timing is formulation-specific. Start and stop the timer exactly as the current product label or technical data sheet defines; do not transfer a timing window from another brand or from an older web article.
Work in sections small enough to keep application, wipe-off and staining consistent. Record the actual product, batch, shop conditions and timing on the sample. If the specified window is missed, follow that product's recovery instructions rather than guessing.
Alternatives and common failures
A washcoat of a compatible sealer, a dye schedule, gel stain, or spray-toned finish can offer more control on difficult wood, but each is a different finishing system that needs its own test. Choosing clear finish without stain is also valid when natural variation is attractive.
If the conditioned sample is too light, do not automatically add repeated stain coats. Additional stain can muddy grain, extend drying, and create topcoat problems. Test a different stain color, conditioner schedule, dye, or gel system.
Keep the control sample even after choosing conditioner. If the full project begins to drift lighter or darker, compare it immediately and correct the application sequence before completing every part. A labeled reference turns a vague color complaint into a specific process check.
If blotches remain, inspect sanding and glue contamination before adding more product. Swirl marks, cross-grain scratches, and burnished areas cannot be solved by conditioner. Strip the sample diagnosis back to bare preparation.
If the project shows lap marks, the sections were likely timed or wiped inconsistently. Work from wet edge to wet edge and keep a written sequence. If the topcoat fails to adhere, review cure time and chemistry compatibility rather than blaming the wood species.
The goal is not to use conditioner on every soft-looking board. It is to run a controlled test and choose the simplest finish schedule that creates the intended color reliably.
| Test result | Decision | Next step |
|---|---|---|
| Unconditioned stain is even and attractive | Skip conditioner | Test the planned topcoat |
| Unconditioned stain is blotchy; conditioner evens it | Use conditioner | Lock the product-specific timing |
| Conditioner is even but too pale | Revise the color system | Test another stain, dye, gel, or washcoat |
| Both samples show scratches or glue spots | Fix preparation | Resand or remove contamination and retest |
| End grain is much darker | Treat end grain separately | Refine sanding or test controlled sealing |
Primary references
Use the current product label, technical data sheet, safety data sheet and machine manual for the exact item in your shop. These primary references frame the general guidance on this page.
Frequently asked
Do I need wood conditioner before staining pine?
Pine often stains unevenly, but test first. Use conditioner only when the conditioned sample gives a more desirable and repeatable result.
Does wood conditioner make stain lighter?
It can because it limits absorption in porous areas. Compare the conditioned and unconditioned color under the planned topcoat.
How long after conditioner should I apply stain?
Follow the exact label. The cited Behr and Varathane products specify different windows because their formulations differ.
Can oil-based conditioner go under water-based stain?
Not unless both manufacturers explicitly allow it. The cited guidance pairs conditioner and stain by chemistry.
Why is stain blotchy even after conditioner?
Possible causes include uneven sanding, glue, burnishing, end grain, inconsistent timing, insufficient wiping, or a wood/stain combination that needs another system.