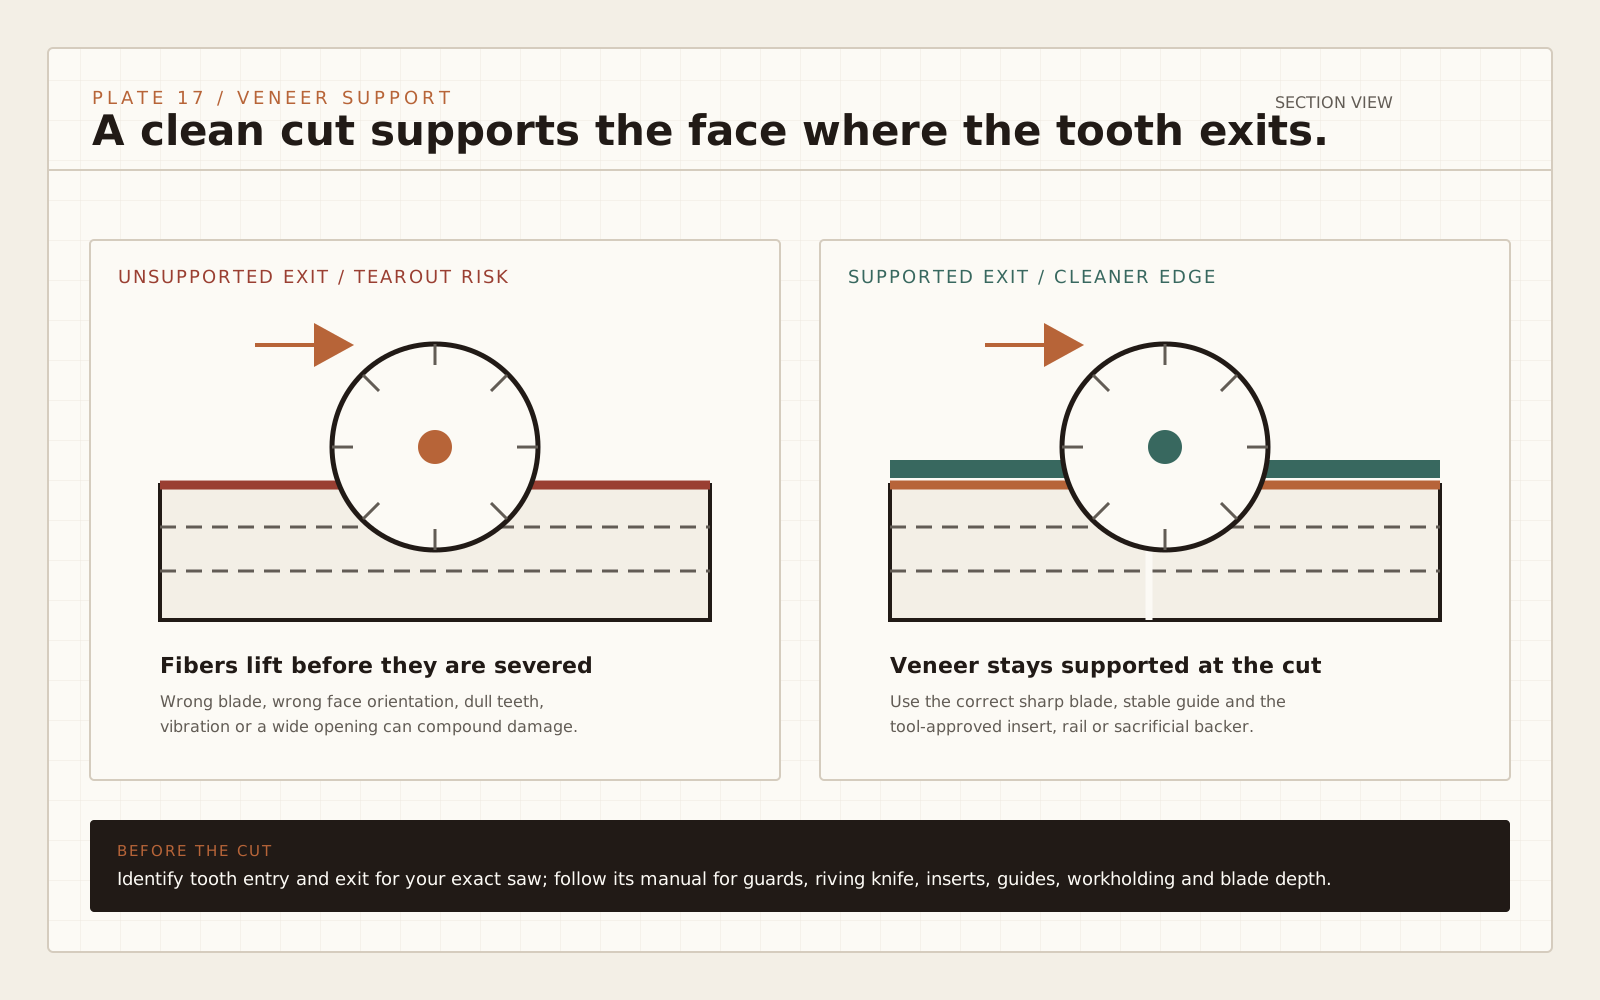
The clean-cut setup
To prevent plywood tearout, first determine which face the saw teeth exit, then put the show face on the cleaner entry side or support the exit fibers with a splinter guard, zero-clearance surface, tape, or scoring cut. Use a sharp blade intended for sheet goods, support the sheet continuously, and make a test cut in an offcut from the same panel.
No single trick compensates for a dull blade, vibrating sheet, or wrong cut direction. Clean results come from a stack of small controls: face orientation, blade condition, stable guidance, fiber support, feed rate, and a final cut made on the correct side of the line.
Put the show face on the protected side
Tearout happens where teeth leave the face veneer and lift unsupported fibers. With a typical handheld circular saw, the blade moves upward through the sheet, so the visible top face is the exit side and is more likely to splinter. Put the show face down unless the saw's design or blade rotation indicates otherwise.
On a table saw, the blade normally enters the top face and exits underneath, so put the show face up. A jigsaw's common up-cut blade tends to damage the top; a reverse-tooth blade changes that behavior. A track saw combines a suitable blade with a zero-clearance splinter strip at the top cut line, but the strip must be intact and calibrated.
Mark both the show face and waste side before moving the panel. For cabinet parts with two visible faces, use stronger controls on both sides: a scoring pass, backing panel, sharp high-quality blade, or a saw designed to score both surfaces.
Blade choice, depth, and support
A blade made for framing removes material quickly but often leaves a rough veneered edge. A sharp plywood or fine-finish blade uses more teeth and geometry intended for a smoother crosscut. Confirm that the blade is compatible with the saw, material, and operating speed. Replace or sharpen a blade with chipped carbide, resin buildup, or visible runout.
Set circular-saw depth so the blade clears the sheet without exposing far more tooth than needed. Excess depth changes the tooth's exit angle and increases exposed blade. Follow the saw manual, unplug or remove the battery before adjustments, and verify that the guard moves freely.
Support the full sheet on rigid foam or a sacrificial platform so both the kept part and offcut remain stable. A falling offcut can tear the final fibers even when the blade made a clean cut. Position supports so the kerf can open without pinching the blade, and keep the cord, hose, and body clear of the cut path.
Scoring, tape, and zero-clearance methods
Scoring severs face fibers before the full-depth blade reaches them. On a track saw that supports a shallow scoring pass, make the first pass only deep enough to cut the face veneer, then make the full pass without shifting the rail. On a table saw, a scoring blade or carefully controlled shallow pass can serve the same purpose when the machine and procedure support it.
A sharp knife and straightedge can score the show-side cut line for a small number of critical cuts. The saw kerf must align so its waste-side tooth edge follows the score. Do not place fingers near the cut while trying to watch the line; use a guide.
Painter's tape pressed firmly over the cut line can support loose fibers, especially on a brittle face. Mark the line on the tape and remove it slowly back over itself after cutting. Tape is a supplement, not a substitute for the right blade and support, and aggressive adhesive can lift a fragile finish.
A zero-clearance table insert or circular-saw base supports fibers beside the blade. It must be made and used according to safe tool guidance because an added base can affect guard operation and depth. A track's replaceable splinter strip performs a similar job only when its edge still matches the blade.
A saw-by-saw workflow
For a circular saw, place the show face down, support the sheet, fit the correct blade, set depth, clamp a straight guide on the kept side, and make one steady pass. Let the blade reach full speed before entering and keep the base flat. Do not force a slowing blade.
For a table saw, place the show face up, use a suitable blade and zero-clearance insert, support large panels with safe infeed and outfeed arrangements, and keep the work registered to the fence. Breaking full sheets down with a track or circular saw first is often easier than controlling them on a small table saw.
For a track saw, trim or calibrate the splinter strip with the installed blade, put the strip exactly on the cut line, support both sides, and verify rail grip or clamps. Use a shallow scoring pass for demanding veneers if the tool instructions permit it.
Diagnose tearout before cutting more parts
If splinters appear on one face only, confirm tooth exit and show-face orientation. If both faces are rough, inspect blade sharpness, panel vibration, and feed. If the cut wanders, fix the guide or rail before adding tape. If chipping occurs only at the last inch, support the offcut and slow the finish without stopping in the kerf.
If one sheet tears out more than another, compare face-veneer thickness, voids, and grade. A flawless setup cannot turn a paper-thin damaged veneer into premium plywood. Move the worst edge to a hidden location or plan to cover it with solid edging.
Make and label a test offcut for each panel batch. Once the setup produces a clean edge, keep the same face orientation, blade, support, and feed for the production cuts.
| Tool | Common tooth exit | Show-face starting point | Best extra control |
|---|---|---|---|
| Handheld circular saw | Top face | Show face down | Straight guide, fine blade, supported offcut |
| Table saw | Bottom face | Show face up | Zero-clearance insert and full support |
| Track saw | Top face at splinter strip | Show face up under a sound strip | Calibrated strip and optional scoring pass |
| Jigsaw with standard up-cut blade | Top face | Show face down | Suitable fine blade and backup |